Shelf-edge communication
Shelf Edge Data Strips
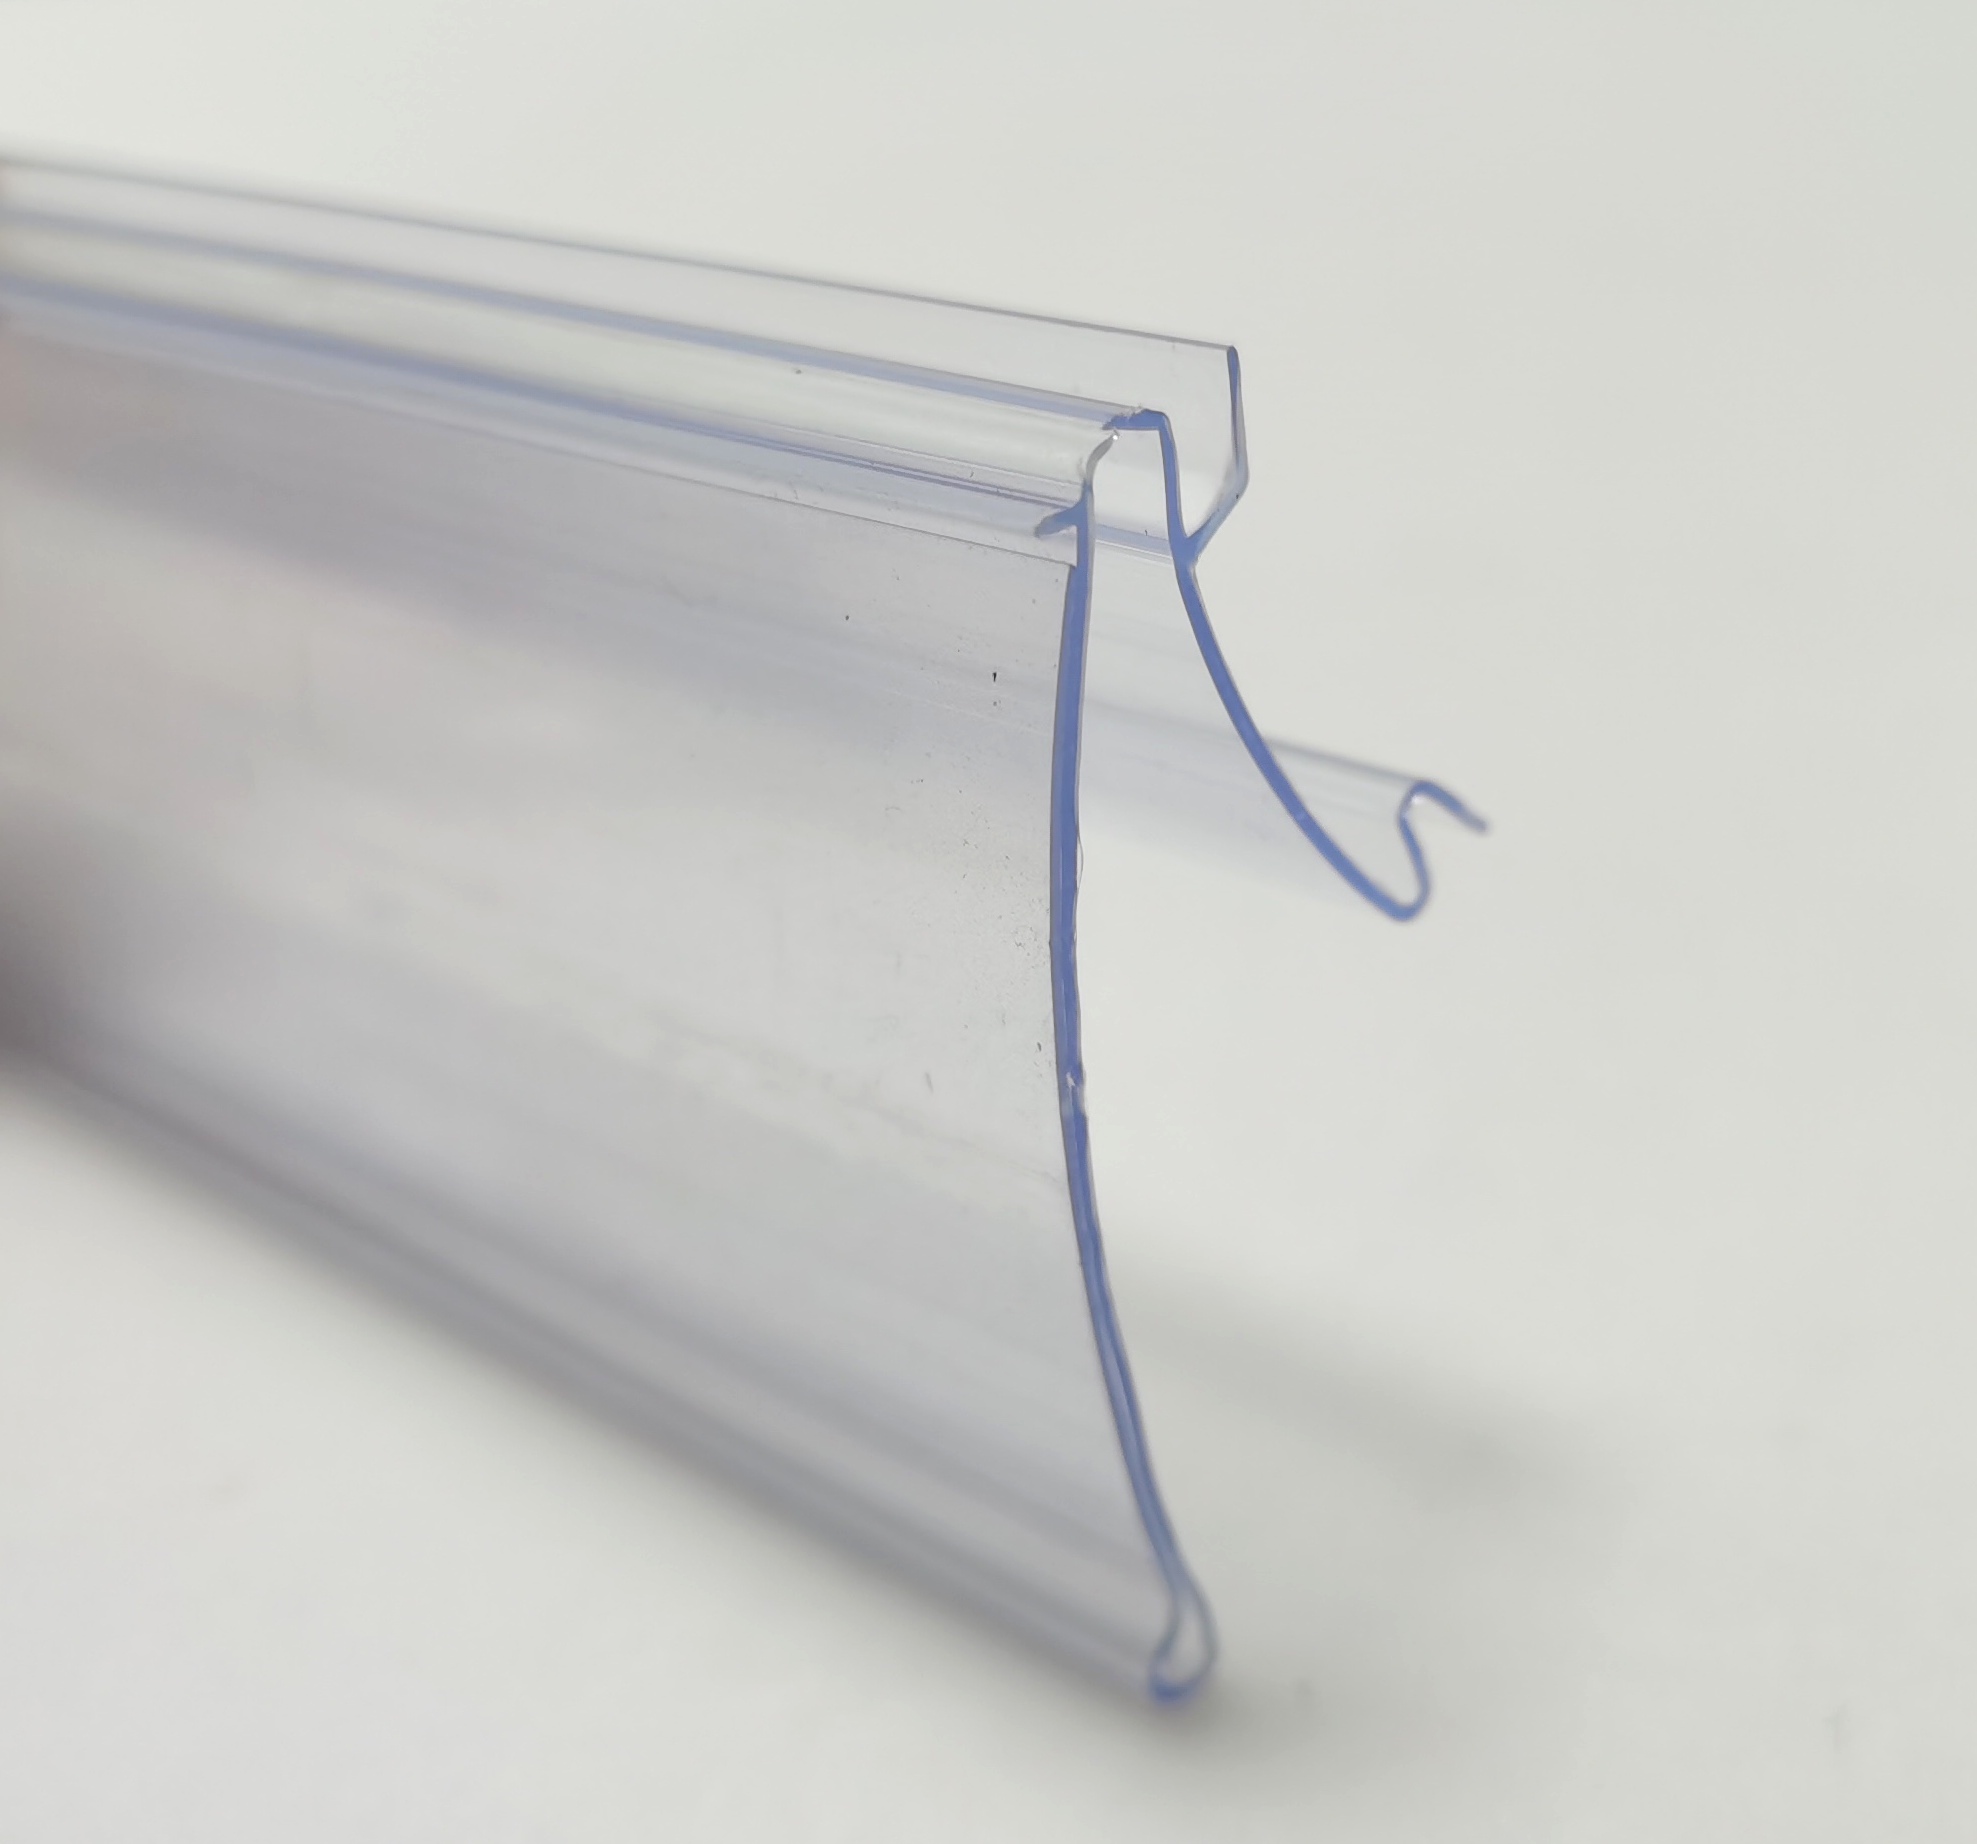
Extruded label rails, scanning strips and ticket holders for metal, glass, wood and wire shelving.
Related products
Browse shelf-edge data strips
Explore products from the matching WooCommerce category. Product images, titles and links stay connected to the catalogue.
-
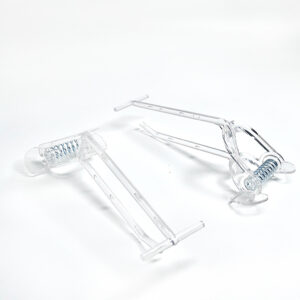
Shelf edge spring adjusted plastic hook
Read more -
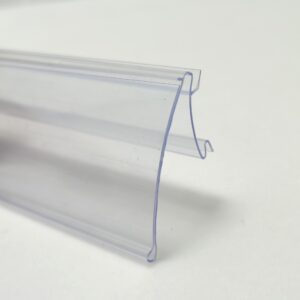
FLIP-UP DATASTRIP FOR HERMES SHELVES WITH “C” CHANNEL 25 MM,HERMES PVC SCANNING RAIL,C-Channel Data Strips,#P25
Read more -
FLIP-UP SCANNING RAIL WITH ANGLE FOR HERMES SHELVES WITH “C” RAIL 25 MM HIGH,#P0432
Read more -
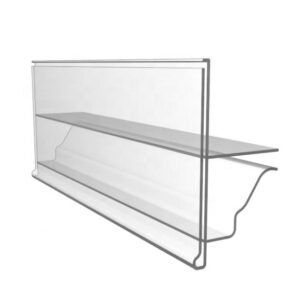
Glass Shelf Data Strip PVC ticket profile ,#GLA0239
Read more
Mounting routes
Select the correct attachment
Different fixtures need different profiles; one generic rail cannot reliably fit every shelf.
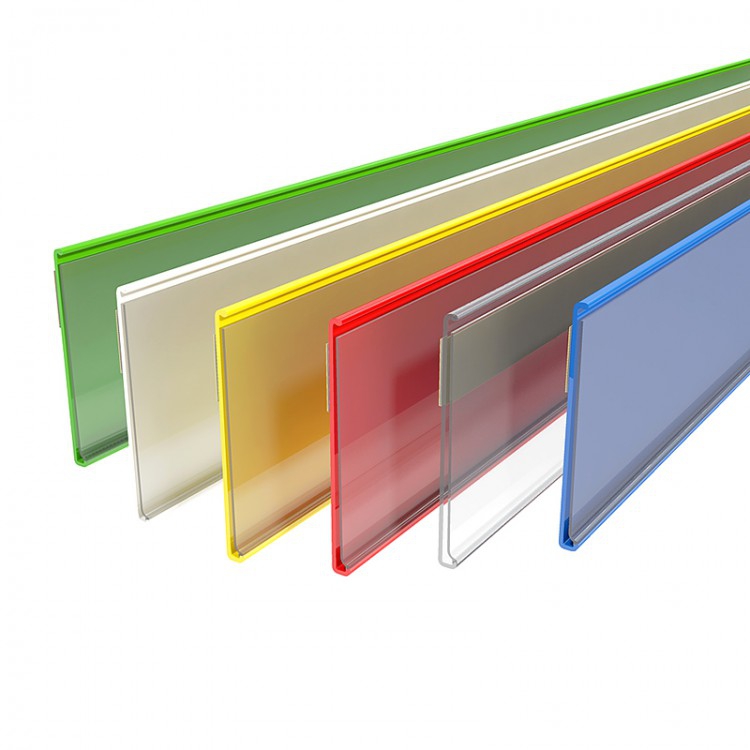
Adhesive strips
Flat mounting for compatible clean surfaces.
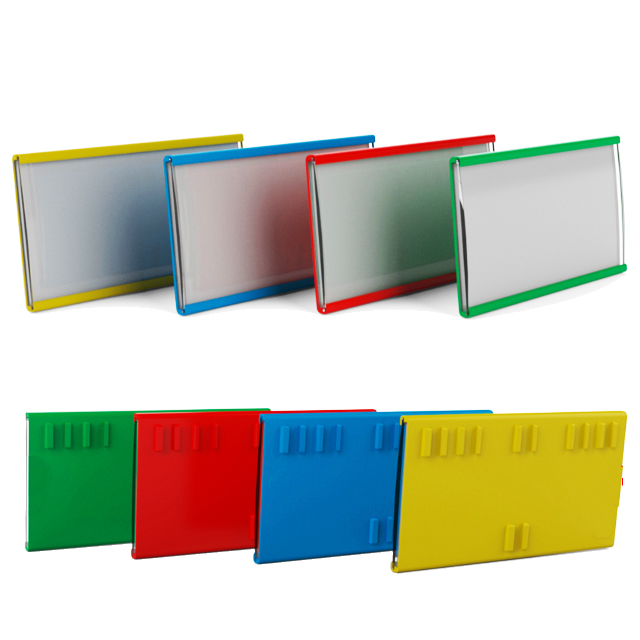
Clip-on profiles
Mechanical grip for defined shelf edges.
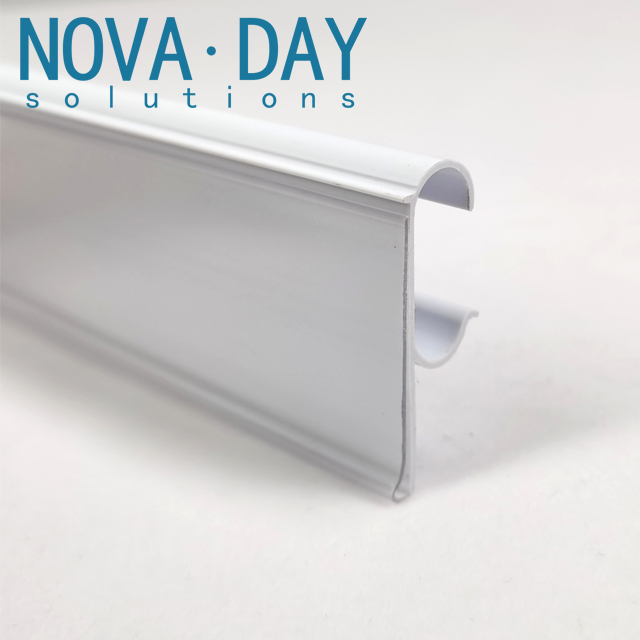
Scanning rails
Protect labels while supporting regular changes.
Promotional route
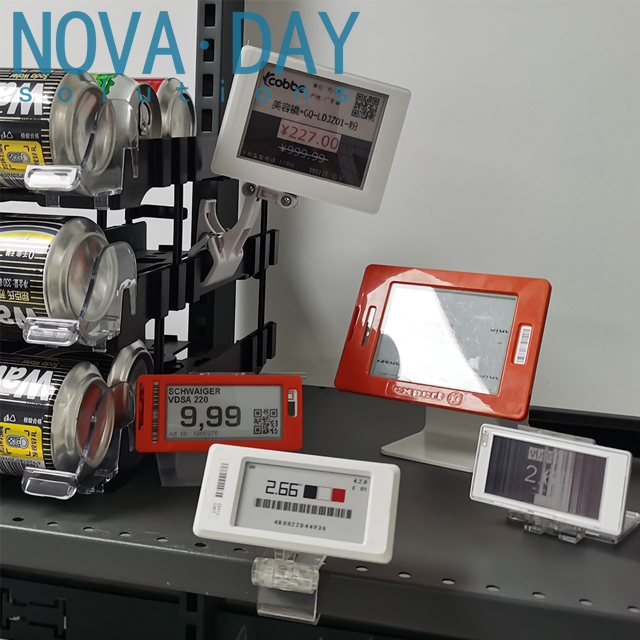
Add shelf talkers without hiding the price
Shelf talkers extend beyond the rail to carry campaign graphics, product highlights or aisle communication. Match the clip and sign size to the data strip and shopper sightline.
- Snap-on talker cover
- Flag or perpendicular sign
- Printed promotional insert
- Clear view of paper label or ESL
- Replaceable campaign graphic
Profile and interface
Start with the shelf edge cross-section
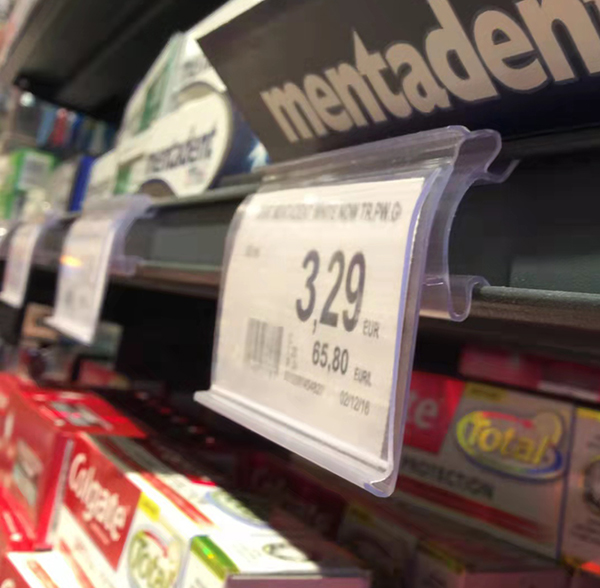
The profile must grip, clip or adhere to the shelf while presenting the paper label at a readable angle.
- Shelf edge shape and thickness
- Label height and insert method
- Viewing angle
- Length, color and adhesive choice
Shelf fit guide
Choose by the mounting edge
The old page functions as a product directory. The redesigned guide adds the missing selection logic before customers enter individual products.
Metal gondola shelf
Use snap-on, flip-up or adhesive profiles according to the edge.
Wire shelf or basket
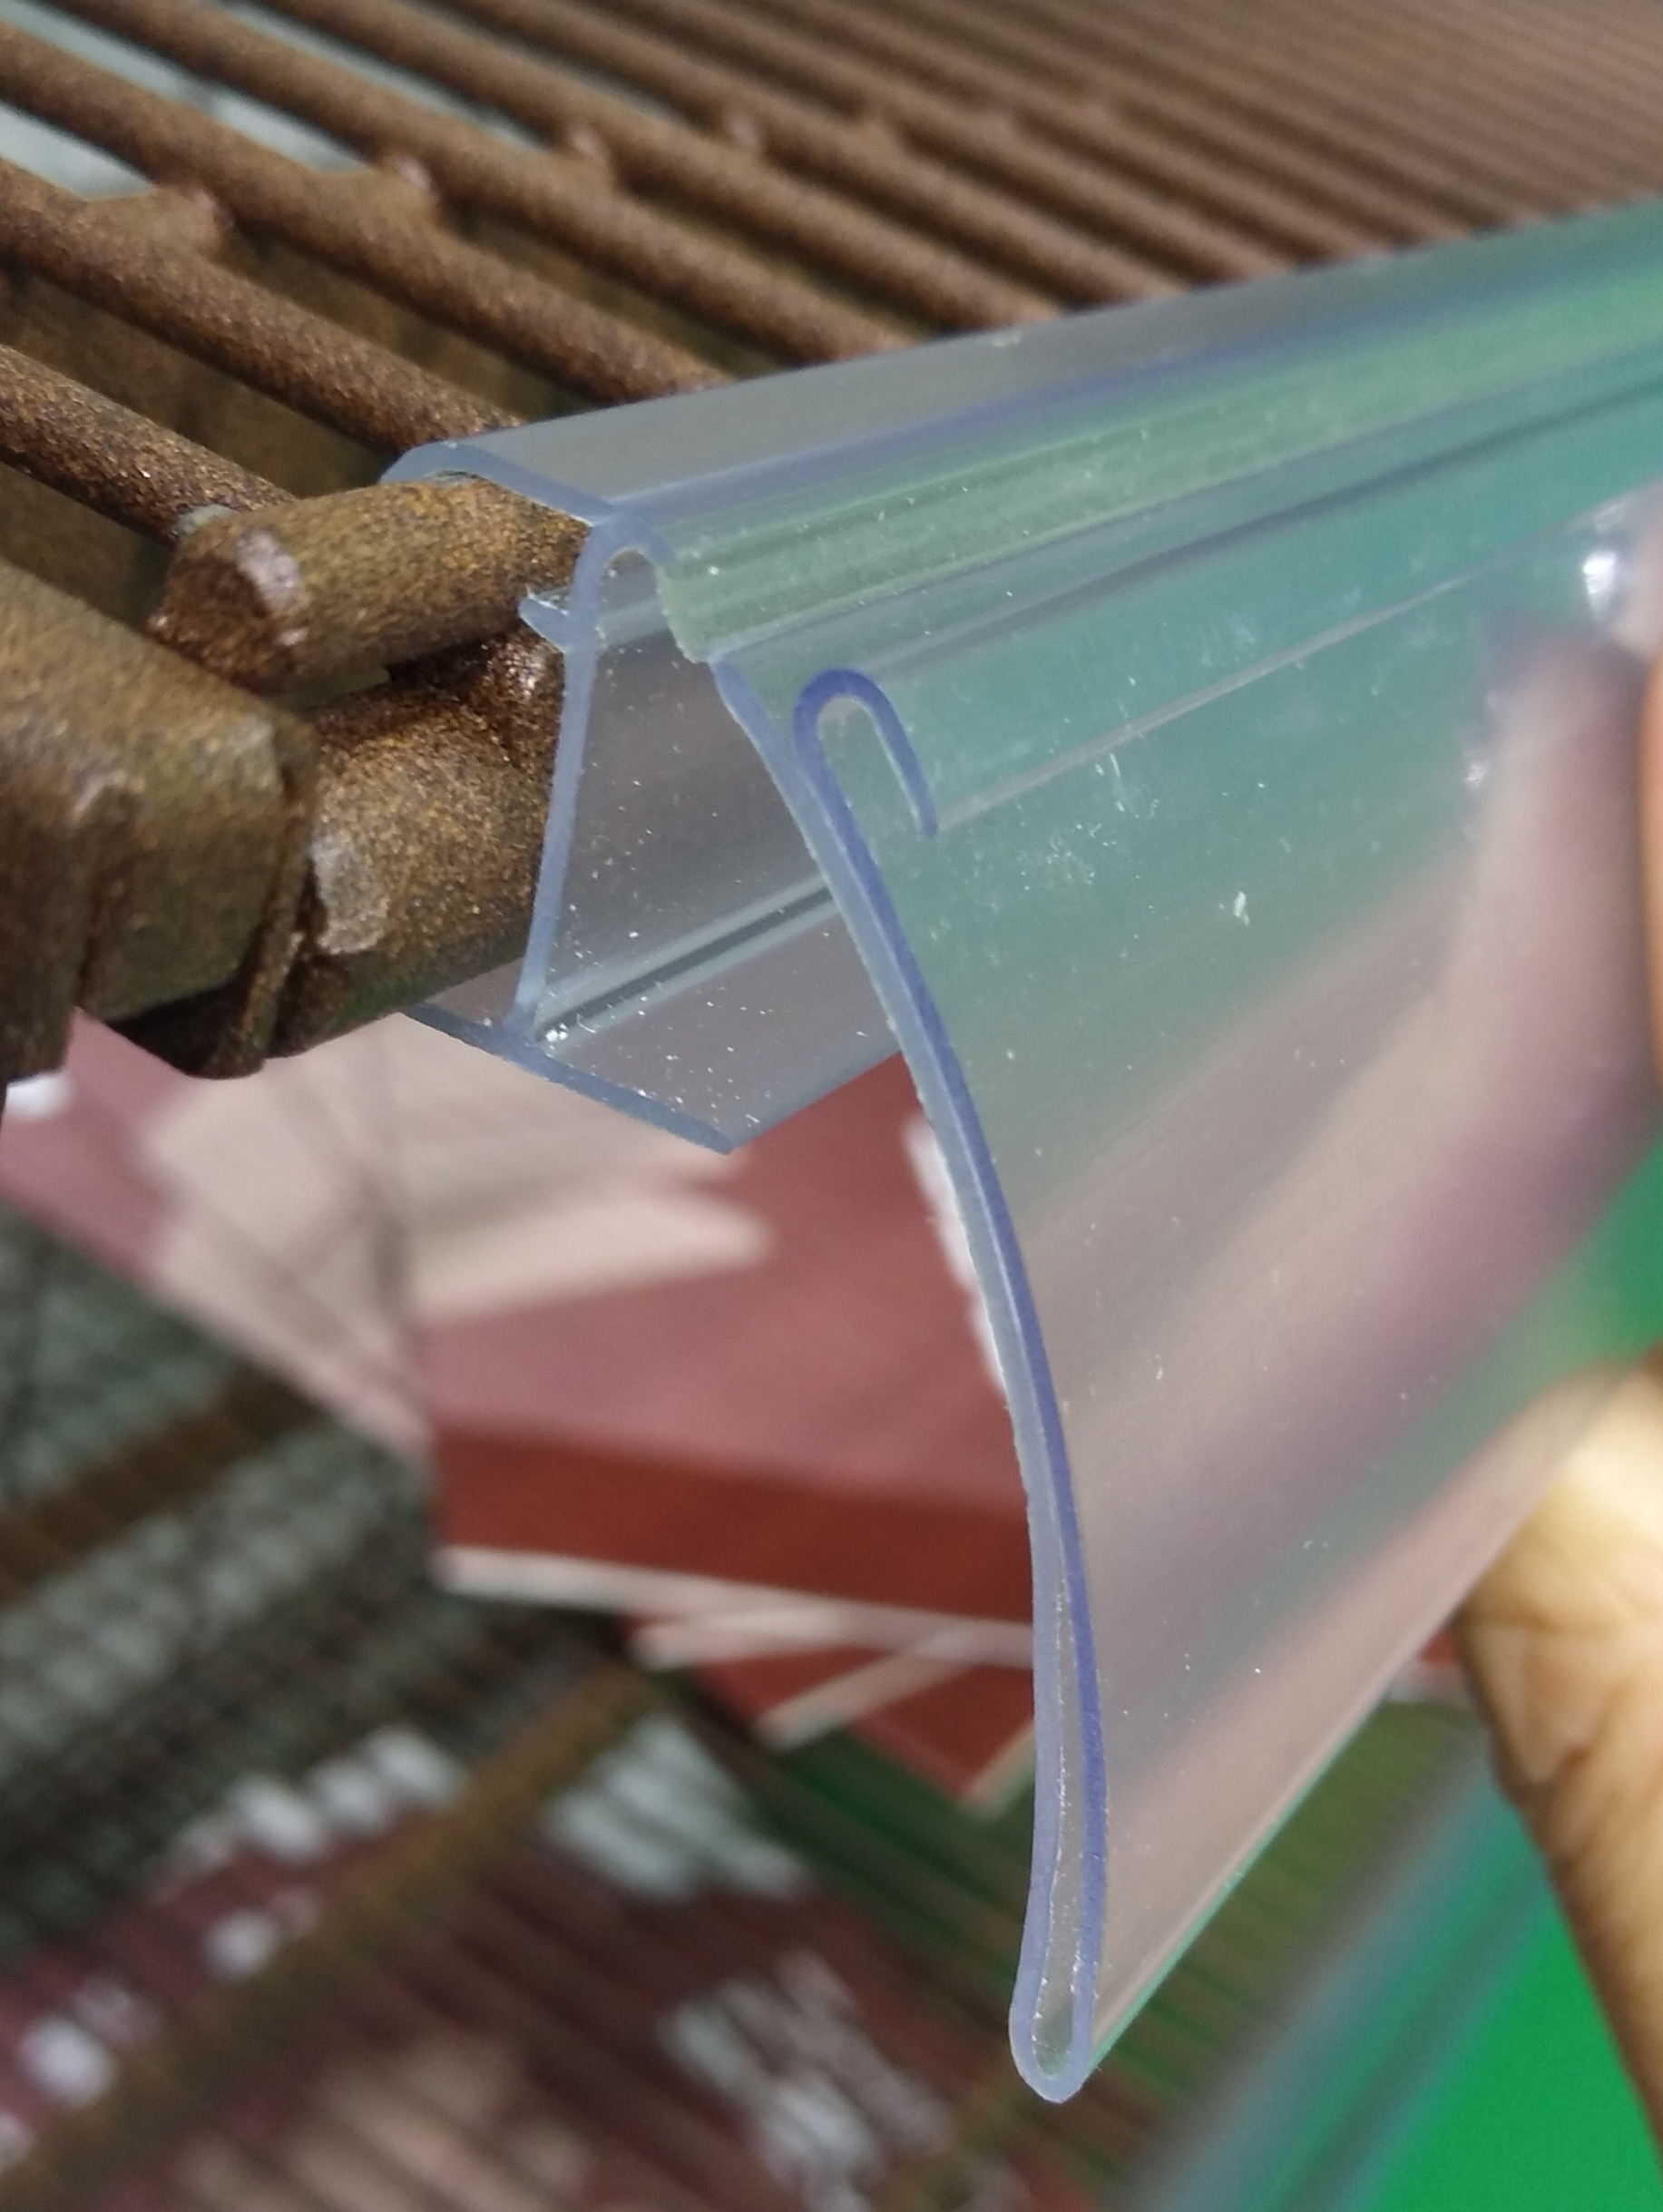
Use a rail that grips the wire without twisting.
Flat surface
Use self-adhesive data strips after checking the surface and length.
Custom extrusion
Develop a profile around the shelf
For non-standard edges, the extrusion route moves from section drawing and material selection to tooling, sample approval and repeat production.
- Provide a shelf section drawing
- Confirm PVC or alternative material
- Approve color and transparency
- Test grip and label insertion
Custom extrusion workflow
From shelf cross-section to repeatable rail
A clear development path helps customers understand what must be approved before a custom profile moves into volume production.
Capture the interface
Send a cross-section, dimensions or a physical shelf sample.
Develop the profile
Review grip, label height, viewing angle and material.
Build the tooling
Approve the drawing before extrusion tooling starts.
Sample and fit
Install the rail on the target shelf and test label changes.
Cut and pack
Confirm lengths, color, adhesive and protected packing.
Installed applications
See how the attachment changes by fixture
Metal shelf edges, wire baskets, glass shelves and flat surfaces need different retention methods even when they carry the same label.
Send the shelf-edge cross-section for a profile review
Send product dimensions, shelf photos, expected quantity and target timing for a practical project review.